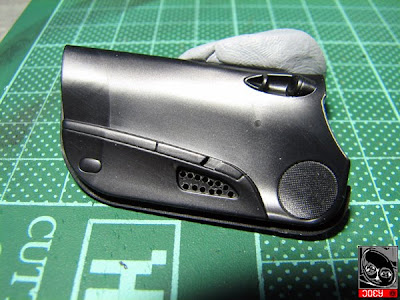
I have actually applied anther layer of clear coating at the moment to make sure the layer is thick enough for polishment. And putting the body away, I have jumped straight to the cockpit. At some glance of my reference pictures, the door panels will be enhence where the little pockets will be opened.

It was easily drilled with some holes to help breaking into it.

And some sanding work will be needed to thin the edge a little bit for relevant scale. A backing sheet will be backed soon upon finished.

Another major issue in the cockpit is that console edge. The kit seperated the console into two parts. And it will take some effort to get this done on the way of painting.

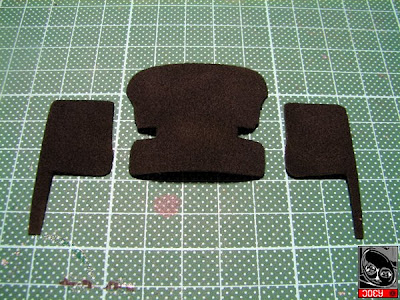
In the mean time, I have got some sampling for the carpets. I simply made use of some magazine papers for earth-saving....

I have matched the samples in some texture sticker so some actual carpets are shaped.

These works well so far for some of my recent kits.

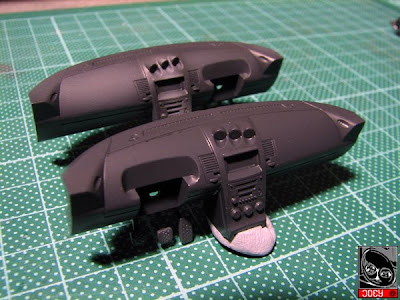
And here it ome the console being painted. I am trying to illustrate the difference of having shadow and highlights on automobile models, and the result is appearant!

after the cockpit and dashboard were painted with base color, I have filled the gaps between the two for the connection of the console. Then it comes the masking and repainting of the second tone.
This is always my approach to mask off the edge first and then the rest with larger and rougher masking tapes.
And the cockpit is now almost done.
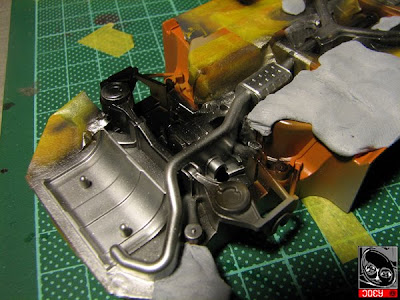
And underlying, the chassis was also being painted too. I am going to demostrate the weather effects on metallic items.


