This page is dedicated to share scale modeling and other hobbies to all other enthusiasts who also love these stuffs. Hope you enjoy and please feel free to give me some comments no matter good or bad. Joey
Showing posts with label 350Z. Show all posts

Friday, June 11, 2010

Nissan Fairlady 350Z Nismo Tuned (5)

So this is it.
Finally, I have hunted a new set of rims that would fit in. So this Fairlady is done and seal now.
I really enjoyed a lot from this build, from the very beginning when I have to mod the body kit myself, to that I have finally grabbed some time to start painting it, and to the finishing of the cockpit details.... These are all very nice progress I have gone thougth from this kit. I wil definitely keep up with the mood and try a bit more in my future progress.

Monday, May 24, 2010

Nissan Fairlady 350Z Nismo Tuned (4)

Progress has been quite fast for the past couple of weeks.
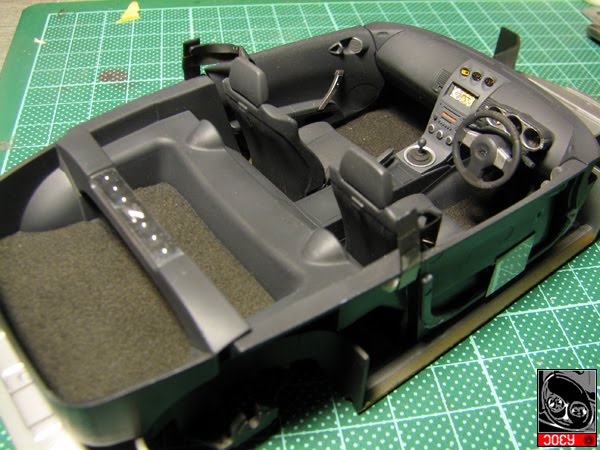
The interior has been set and done with some little details added.

First are the seatbelt buckles, which are scratch built with plastics sheets. I have followed a coulpe of reference pictures, noticing the seatbelts actual hangs out a little from the b-pillars. So I have replicated the hangers.

These are painted handfully with Gunze flat black and then tinted with Andrea red.


The door panels were also done. This can be compared with the original parts in the last update.


So the cockpit is then ready and I have moved on to the little parts yet to be finished.


I have added some sets of etching wipers which are handfully from Crazymodelers.


After that, the body is tinted with the window frames and clear parts are set.
But noticibly I have messed up the rims on which I tried to add some details. So I have not take any finished pics yet. But all it is all ready nevertheless.
Let's see when I will get a proper rims set so I can have it finished and pictures taken.
Thanks for reading this progress.

Sunday, May 2, 2010

Nissan Fairlady 350Z Nismo Tuned (3)

Leaving the clear coatin on the body to dry out for a couple of weeks, I have started the polishing work in the weekend so I can keep up with the progress. And I have this some particular pics as a referne on my steps.

The picture below is the surface being dried for some weeks. You may spot the orange peel with ease.

And then I have sanded the surface with wet #1500 sand paper. Those orange peels were leveled off, while a flat and rougher surface is left.

Then it comes with wet #2000 sand paper sanding, which smoothened the surface and give a little more gloss to it.

And finally, I have polished the surface with compound, this time from Ricebox. The gloss of the surface is achieved and the polishment steps are done.


Thursday, April 29, 2010

Nissan Fairlady 350Z Nismo Tuned (2)

In this week, I have keep myself very busy with the progress of this kit, mainly for the reason that I will be sharing my modeling hobby in another means other than the Internet! So this have to be done at some early point in May so I have come up with more meaningful pictures.

I have actually applied anther layer of clear coating at the moment to make sure the layer is thick enough for polishment. And putting the body away, I have jumped straight to the cockpit. At some glance of my reference pictures, the door panels will be enhence where the little pockets will be opened.
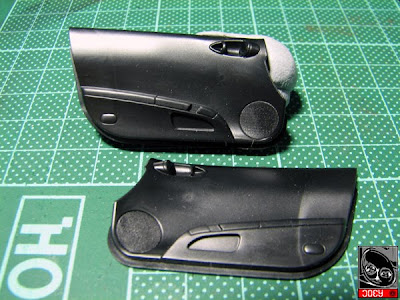

It was easily drilled with some holes to help breaking into it.
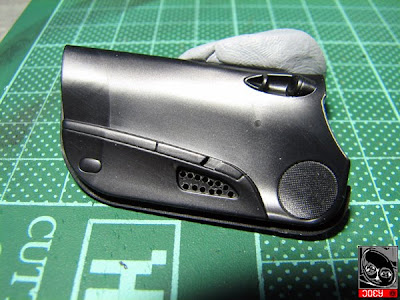

And some sanding work will be needed to thin the edge a little bit for relevant scale. A backing sheet will be backed soon upon finished.


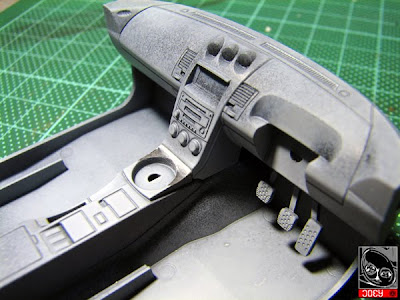
Another major issue in the cockpit is that console edge. The kit seperated the console into two parts. And it will take some effort to get this done on the way of painting.

In the mean time, I have got some sampling for the carpets. I simply made use of some magazine papers for earth-saving....
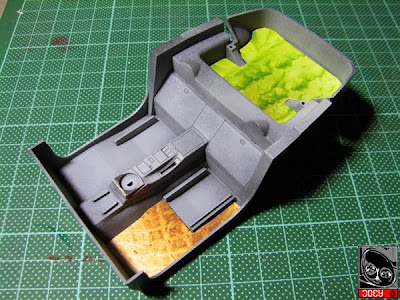
I have matched the samples in some texture sticker so some actual carpets are shaped.
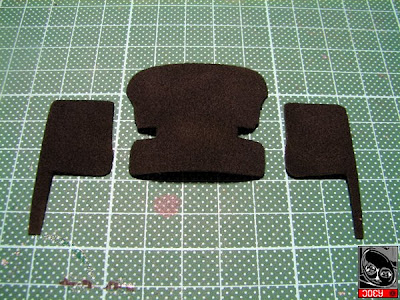
These works well so far for some of my recent kits.


And here it ome the console being painted. I am trying to illustrate the difference of having shadow and highlights on automobile models, and the result is appearant!
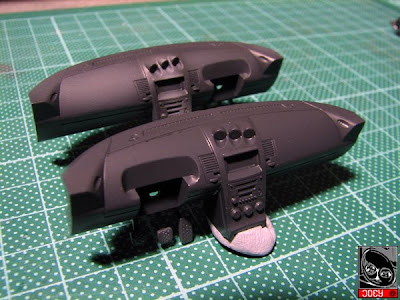

after the cockpit and dashboard were painted with base color, I have filled the gaps between the two for the connection of the console. Then it comes the masking and repainting of the second tone.

This is always my approach to mask off the edge first and then the rest with larger and rougher masking tapes.

And the cockpit is now almost done.

And underlying, the chassis was also being painted too. I am going to demostrate the weather effects on metallic items.
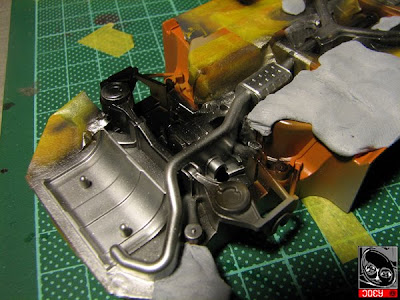

So this is how far I have gone. I am hoping to finish it by next weekend.

Tuesday, December 8, 2009

Nissan Fairlady 350Z Nismo Tuned

I have started this kit back in 2007 Oct. I haven't been working on it at all as the sanding work for the body kit is really a demanding task. And afterall, I have got this kit stayed untouched over the years and worked on many some other things else.

From time to time, I have work little by little and finally, I have got the body replicated and it is now ready to be painted. Ihave decided to do it a pearl orange color and this paint is from Ricebox again. I hope I can still be working on this in December and hopefully get it done straight a way.


free counters